
How to Grow the Potted Roses ( Part 1 )
From the last article, I introduced how many and how beautiful my roses are, and I got some messages about how I take care, water, and fertilized them. Also, especially in summer, and the routine to make them stronger to survive the tropical summer. I'm going to make a tutorial from the beginning of what to do after receiving it to fully potted it. I hope my experience can boost your confidence to take care of the flower that everyone agrees is the "Queen of flowers."
This series would be breaking into several parts because it has too much to say, and I want you to have a perfect experience.
How to Pot the Roses
1. Chose the right one
Choosing your favorite roses varieties is always an exciting part of the experience. Still, you need to see if the rose suit your environment, by its means, are planning in the garden area, balcony, or patio. Every space can have different environments for your roses, such as how much direct sunlight you get for a day, how much space can fit a different type of roses(shrubs, climbers, etc.), and how much it would be affecting by the other kind of weathers.
If you finally decide to have your first rose! Congrats, you will enjoy its beauty from time to time, but here are some tips to make sure you have the right way to grow it.
2. After you bring it home
Cut
After you receive the roses if it is still a baby plant and with the flowers or buds, the first thing I would do is remove the buds. Just like pregnant need a lot of energy and strength for a woman, the same as having a flower, if the plant is still young, it would take too much energy to the future of its growth. Trust me; even it still grows, it would grow pretty slow compared to the other roses you already removed the flowers from the first place. Still, I highly recommend you to remove the buds if they came with it when you receive it.
I understand you want to see the beautiful flowers, but you want to see that one bloom or more than ten flowers blooming together at the same time, that magnificent beauty worth you to wait.
Soils
After you removed the buds, the second thing is to change it into a bigger pot. Usually, the roses we just bought are already fully grown in its original pot. If we want it to grow bigger and faster, we need to change it into a bigger pot instead. You think just put some regular soil when potted it, that’s it, right? Then you are totally wrong! Rose loves the soils full of air and nutrients, not too dry and not too wet, just right in the middle. I am going to introduce what you need to have the perfect soil for your rose.
You Will Need
Pearlite Akadama Soil Coconut Coir
Compost (Controlled Release Fertilizer, or Earthworms Castings)
The proportion starting from pearlite, akadama soil, coconut coir, and earthworm fertilizer is, 1:2:7:2
Fertilizer
After you position your rose in the pot, I would put some fertilizer before I pot the rose. I recommend you use the controlled release fertilizer. If the fertilizer works too fast, it will burn your rose roots, and somehow it will cause it to death. You don't want that to happen, right ?! The control released fertilizer may not bring nutrients immediately, but it can deliver consistent nutrition for its growth from time to time. Your rose would grow even more durable than using the fast effect fertilities.
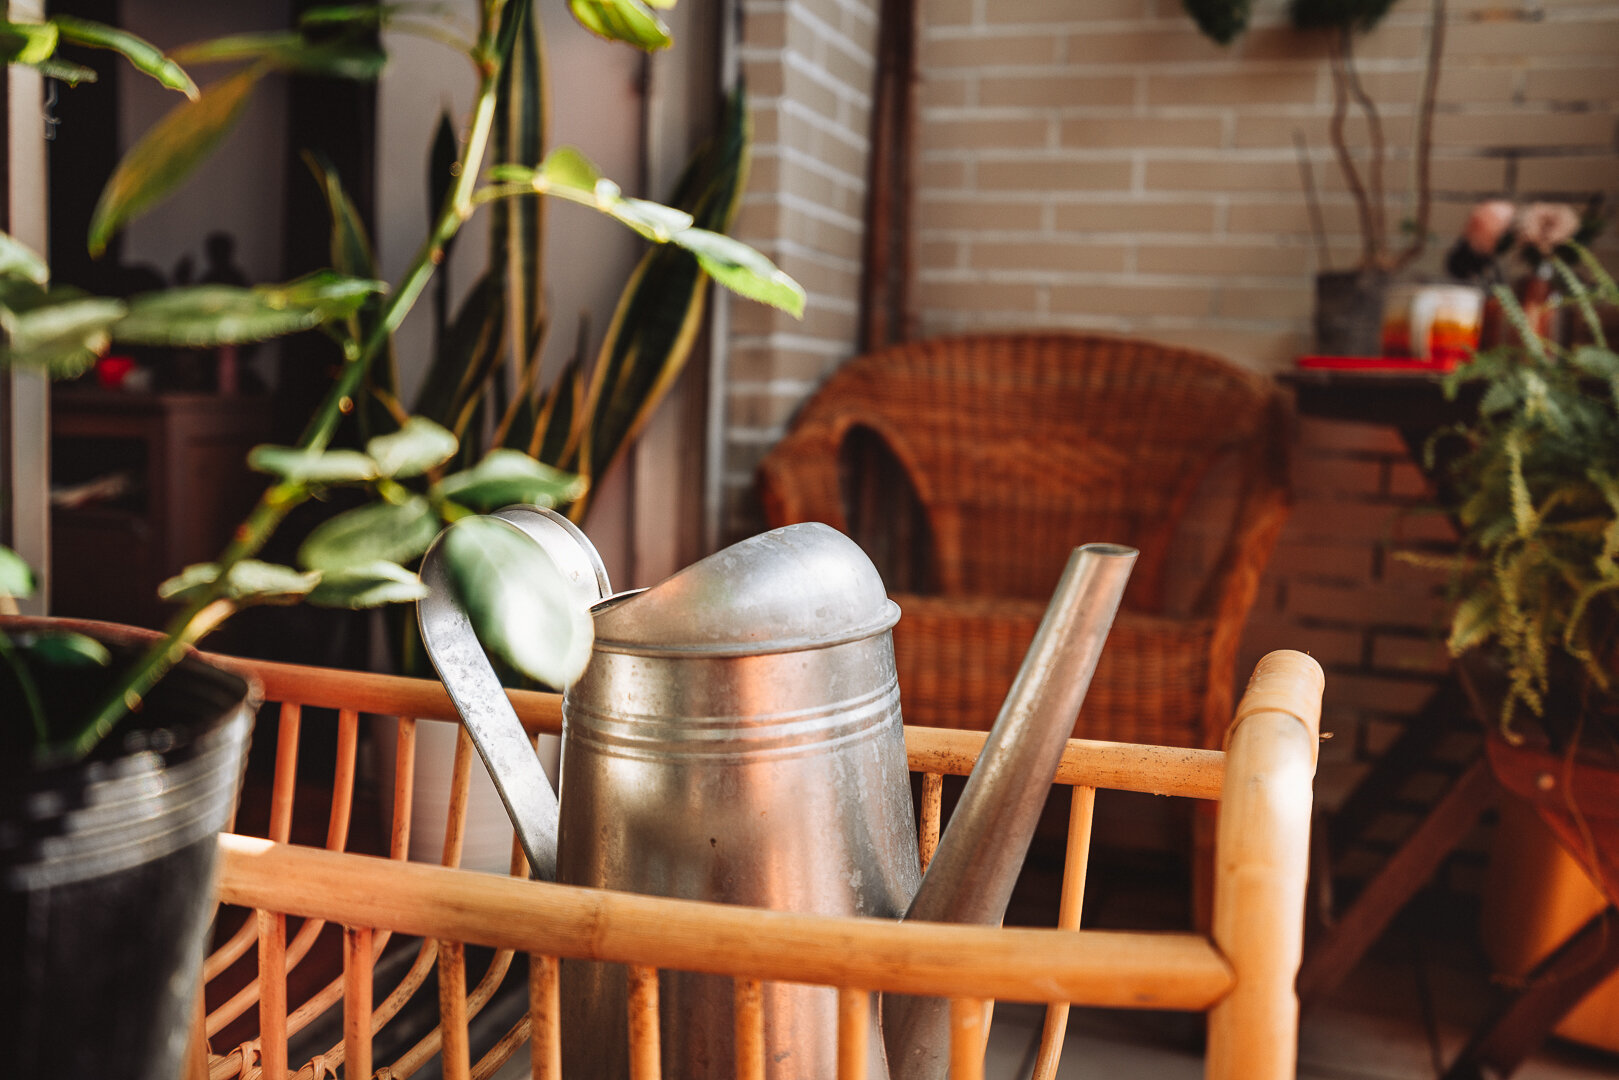
Water
After you fully potted the rose, you need to water it instead. This is really important to set the roots and put it into the right position to grow. You need to water it until the water comes out the bottom of the pot then it would be done.


A super heathy root.
Summer in Tropical
The weather starting to getting hot around May, and to be able to survive the summer and enjoy the dozens of flowers in fall, we need to do the following steps.
1. Don’t let it blooms
The flower looks typically unattractive this time; also, this time of year, the rose will become weaker than the more cooling season, to cut the buds when you seem it can make it store more strength to survive during summer.
2. Water it when it dry
Please forget how people say “to water it three times a week(or another number).” It depends on how your planting environment is, I recommend before you water your roses, stick your finger into the soil to feel it is dry or not. Water it until the water comes out from the bottom of the pot, then is perfect.
3. Don’t trim it too crazy
Leave as many leaves as you can. Because the rose would become weaker in the hot season, the leaves are the key to make more nutritious for itself to survive. Sometimes we get a lot of rain during summer, and it maybe will cause some diseases for the leaves, a nice medical spares after the rain is an excellent idea. After the flower (still highly recommend not to let it bloom), please deadhead the flowers, cut from under the flower’s third set of leaves, are the perfect spot for deadheading the flower. I know it would make the roses bush looks really crazy and ugly during this season, but the trimming is the job for fall, honey!
4. Be aware of using the fertilizer
I recommend using organic compost twice a month, only put the amount of a teaspoon size are enough (around 3-5g). Putting too much fertilizer can put the rose to death. The hot weather can make the fertilities affect more efficiency, and it could burn the roots and put it into a bad situation, so please be aware of the amount of fertilizer you will set.
I am also using liquid fertilizer to spray the leaves as well. The fertilizer with higher nitrogen, potassium, and lower phosphorus is the best food for roses in summer. Nitrogen and potassium help roses create bigger and thicker leaves. When the leaves are healthier, the roots grow faster. If the rose is stronger in summer, we can enjoy more flowers in the fall.
Overall, I used the liquid fertilizer to spraying the leaves third times a week and twice a month for the organic compost.